How to format your text: headings, lists, tables…
ETeext’s formatting tools structure a text without leaving the editor: headings, lists, checkboxes, tables, footnotes, punctuation… Everything is made of characters that paste anywhere, like ETeext’s styles. They are free for everyone.
1. Open the tools
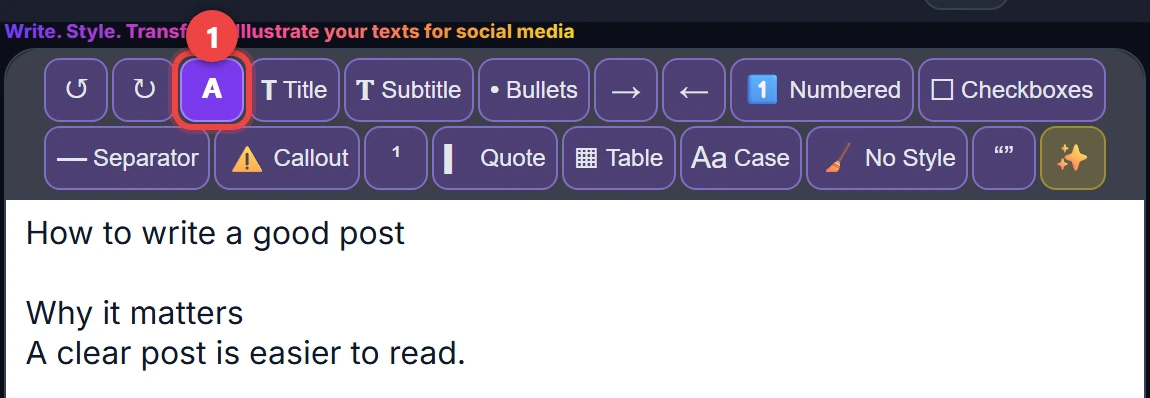
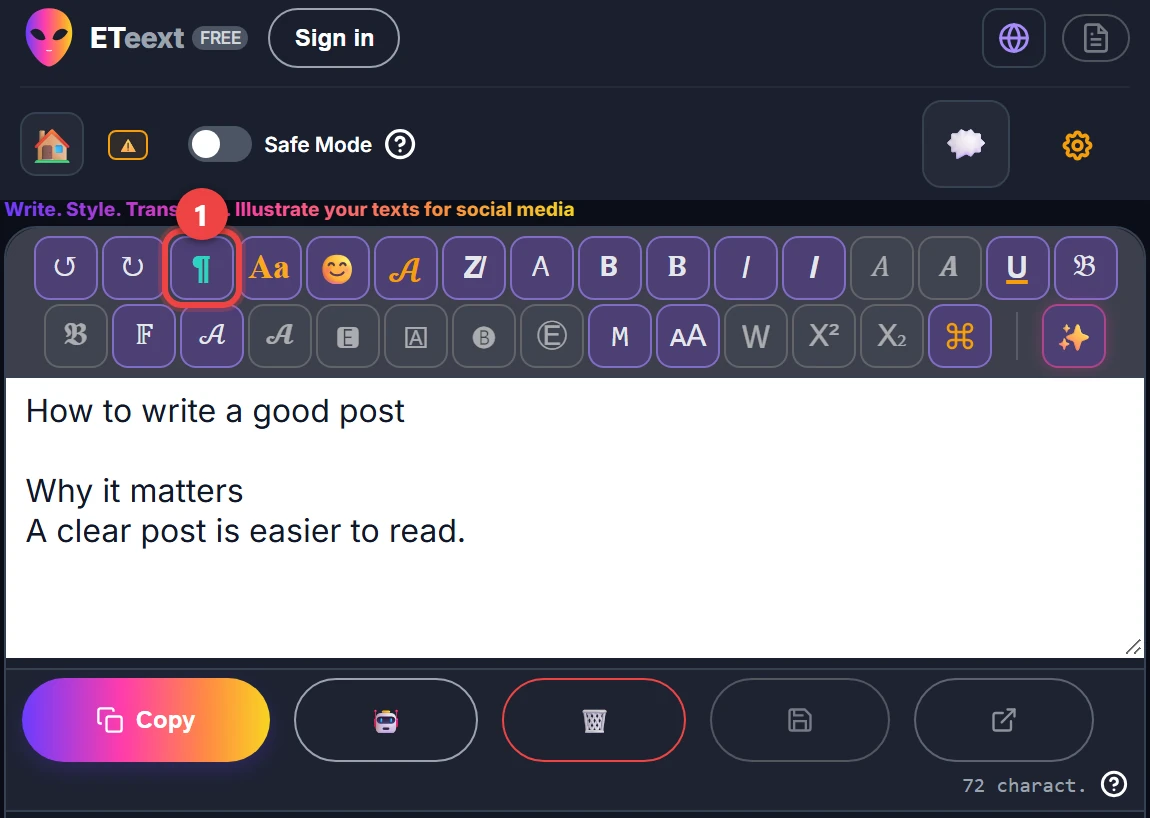
Tap ¶ at the start of the style bar, just after ↺ ↻: the tools take the place of the styles. A tool works on the selection, or on the line where the cursor is. ↺ undoes each tool in one step.
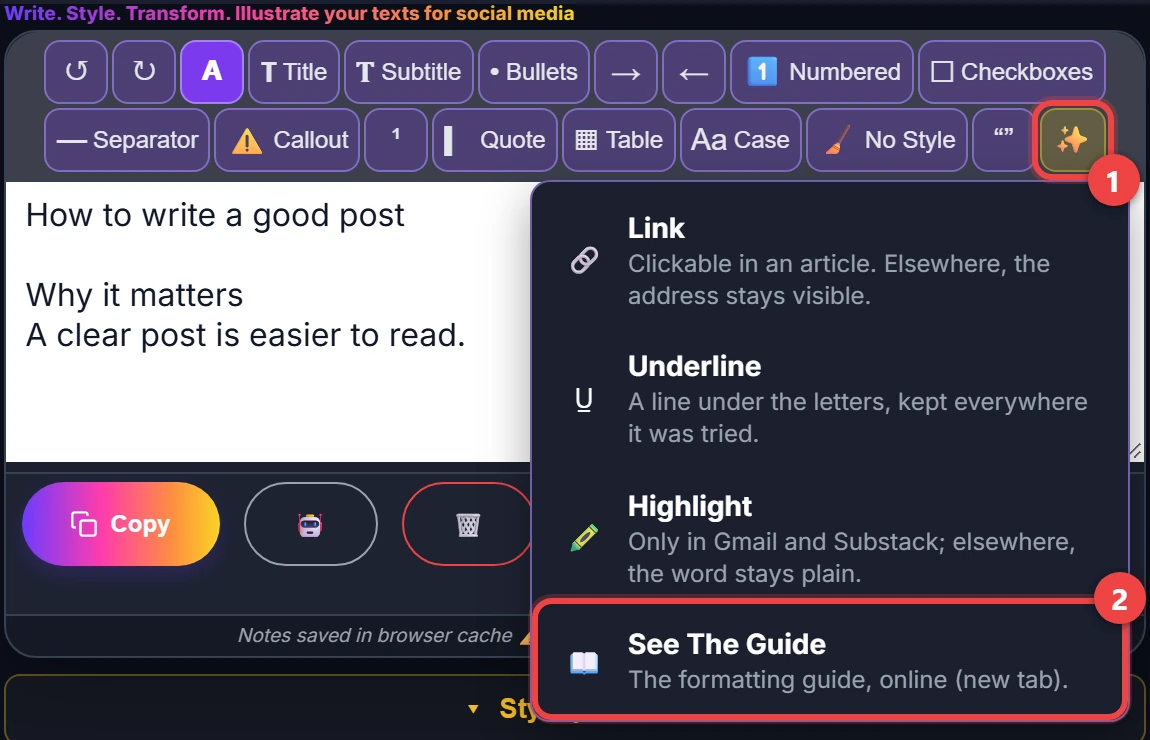
See The Guide opens this guide online, in a new tab. On a computer or tablet, it’s a button just before ✨ when it fits on the row; otherwise, it’s the last entry in ✨.
2. Title and Subtitle
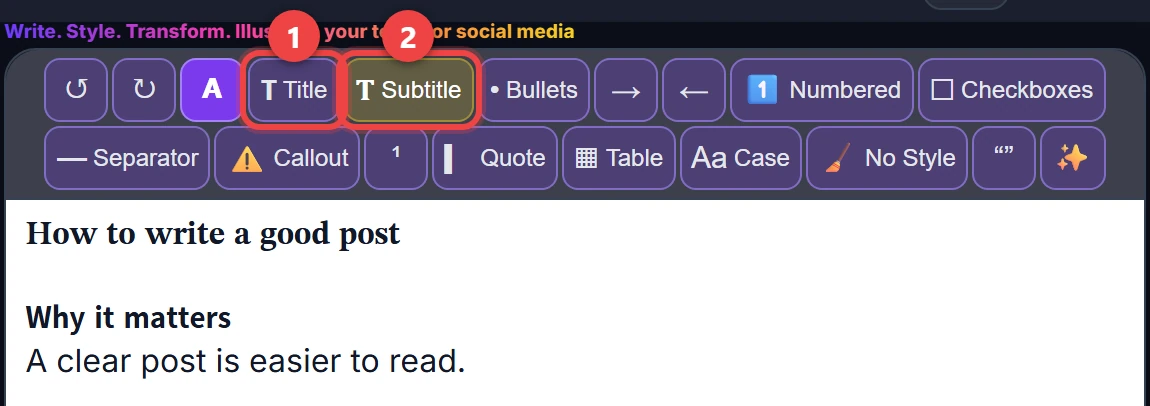
Title puts the line in bold with serifs, Subtitle in bold without serifs. You can use several: the first one is the real title, and a title in the middle of the text gets a blank line before and after it.
If the letters have no bold form (Russian, Hindi), the app says so and the line stays plain.
3. Bullets
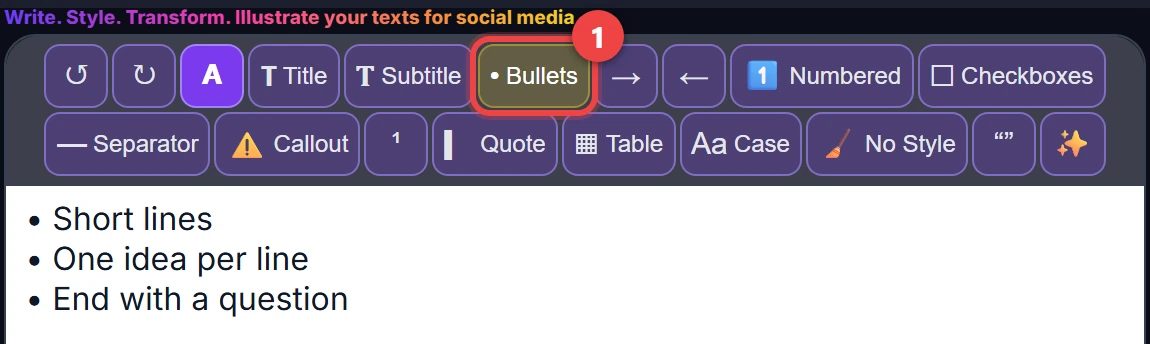
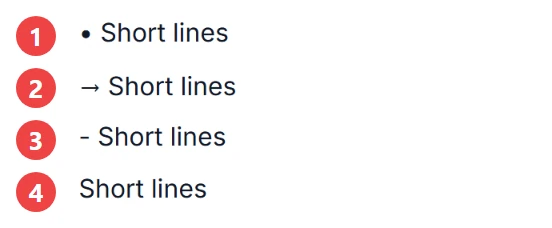
Each tap on Bullets (•) changes the type of the whole list: •, then →, then -, then nothing. The arrows → and ← add or remove a level (◦, ‣).
4. Indent, Tab and Enter
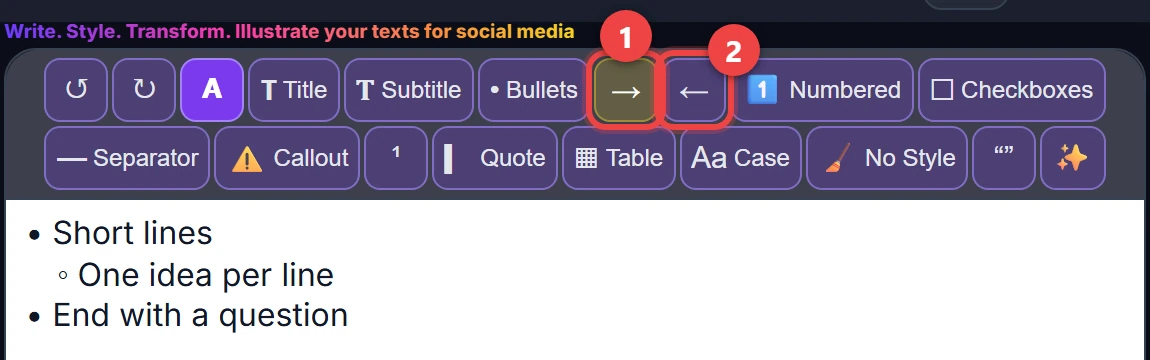
→ moves the cursor’s line, or the selected lines, one level to the right; ← moves it one level back. It works on a plain line as well as in a list, where the bullet changes with the level (•, ◦, ‣).
With a computer keyboard, or a keyboard plugged into a tablet, the Tab key does the same as →, and Shift+Tab the same as ←. To leave the editor with the keyboard, press Esc, then Tab.
In a list, Enter adds an item of the same kind: a bullet, an empty box ☐, the next number or the ▎ quote bar. On an empty item, Enter ends the list. Shift+Enter goes to a new line without a new item.
The indent is made of wide blanks: Threads and Mastodon remove it, as they do the blanks at the start of a table line. In a bulleted list, the bullet (◦, ‣) still shows the level there.
5. Numbered
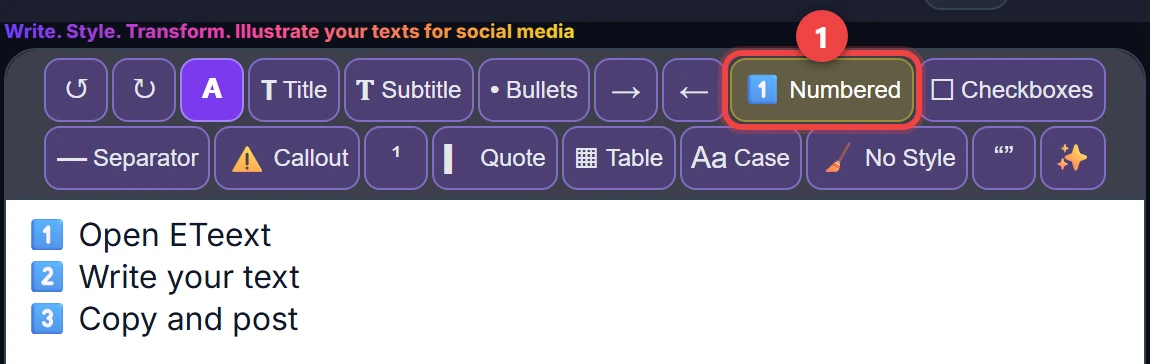
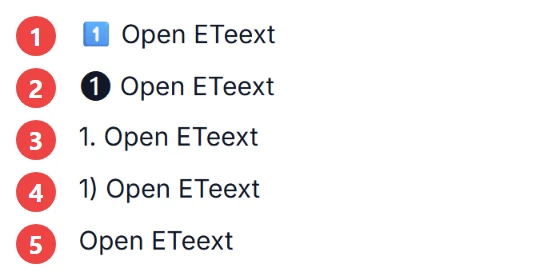
Each tap on Numbered (1️⃣): 1️⃣, then ❶, then 1., then 1), then nothing. The list renumbers itself; from the 11th item, 1️⃣ becomes “1.”.
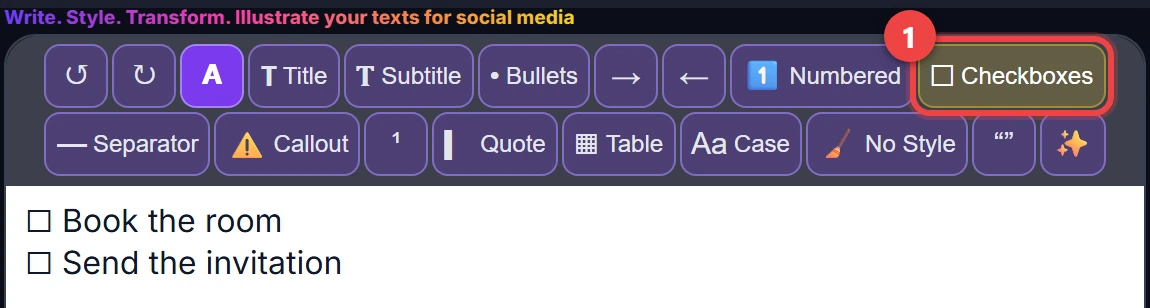
6. Checkboxes
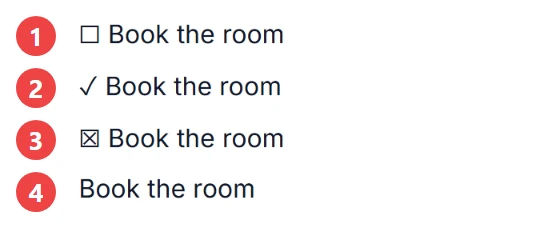
Checkboxes (☐): ☐, then ✓, then ☒, then nothing.
7. Separator
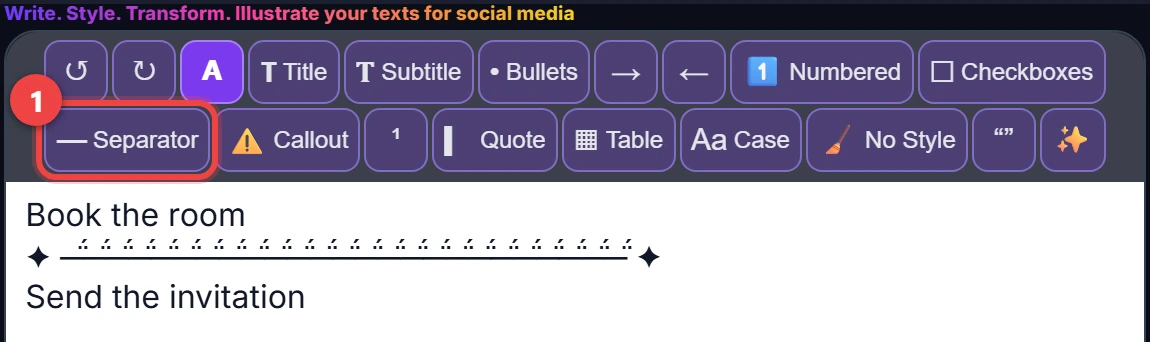
Separator (—) opens the Separators window, where you pick the line.
8. Callout
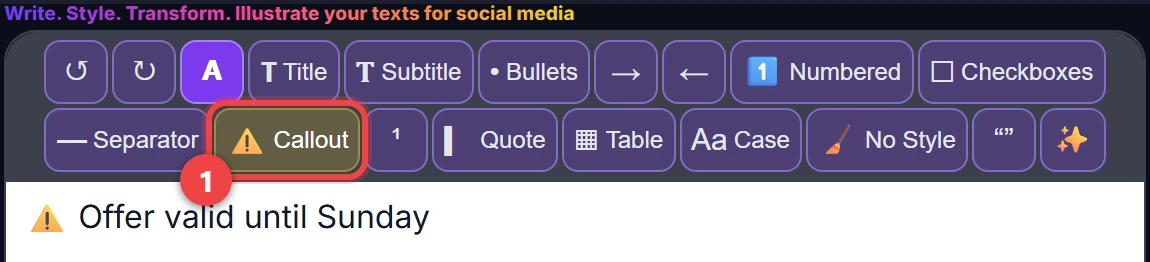
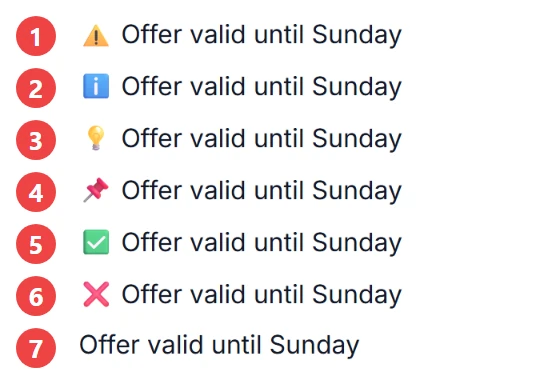
Callout (⚠️) makes the line stand out with a pictogram: ⚠️, then ℹ️, 💡, 📌, ✅, ❌, then nothing.
9. Footnote
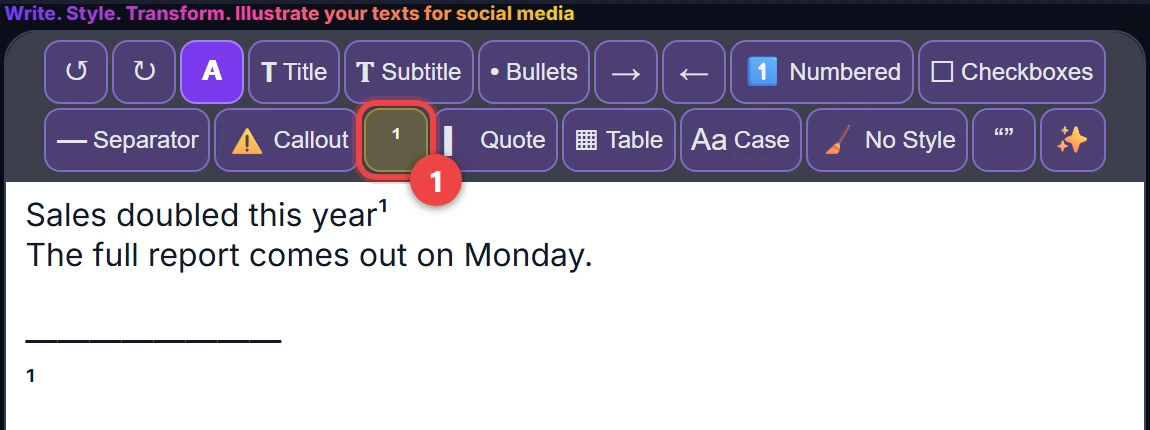
Note (¹) puts ¹ at the cursor and, at the bottom of the text after a line, a “¹” line for you to fill in.
10. Quote
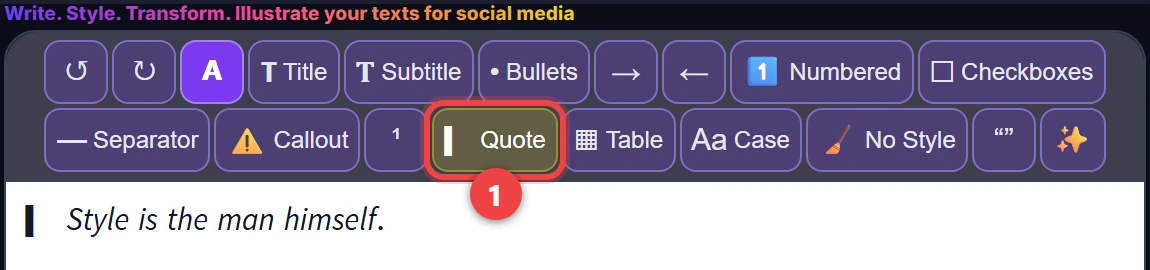
Quote (▎) puts a bar in front of each line and turns its text italic: you can see at once that these are someone else’s words. Tap it again to go back to plain text; other styles stay.
If the letters have no italics (Russian, Hindi), the app says so and the line keeps only the bar.
11. Table
Three ways to start:
- paste a table from Excel;
- paste it from Google Sheets;
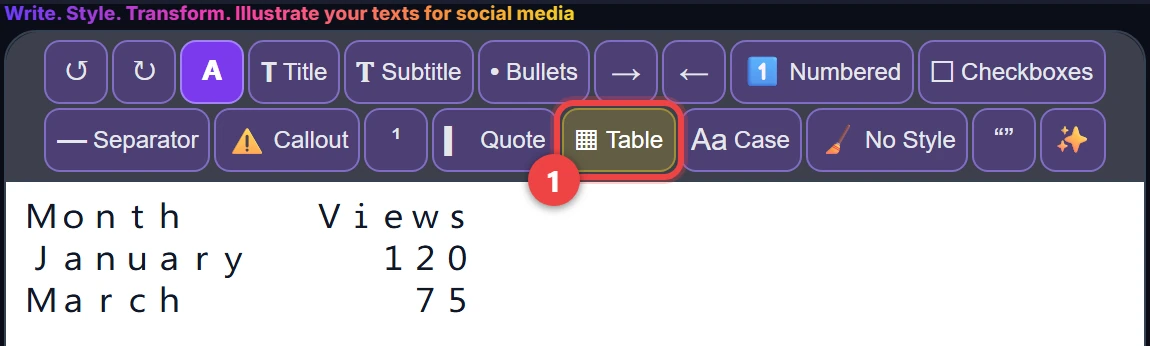
- or type one line per row, with a ; between the columns: Month;Views, then January;120, then March;75.
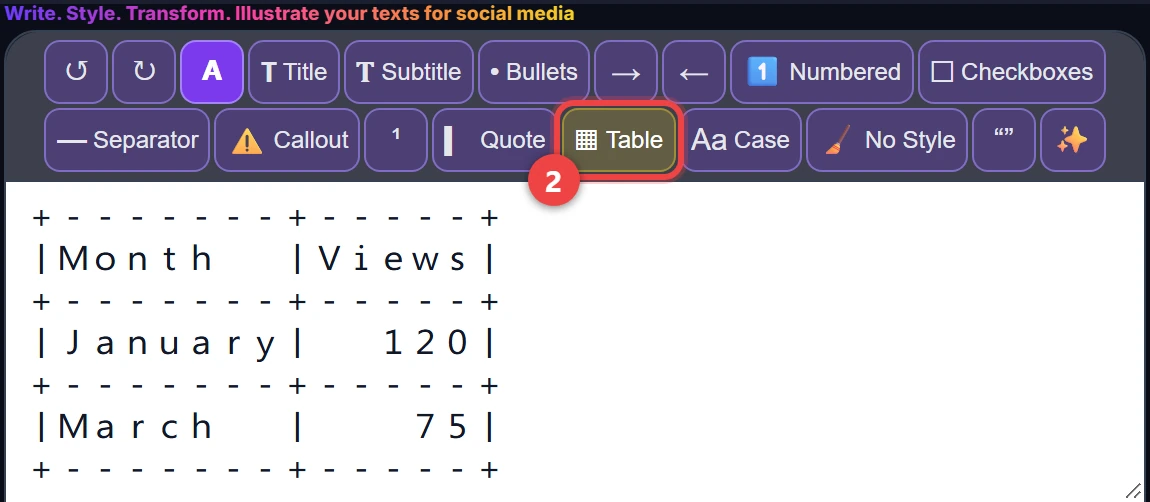
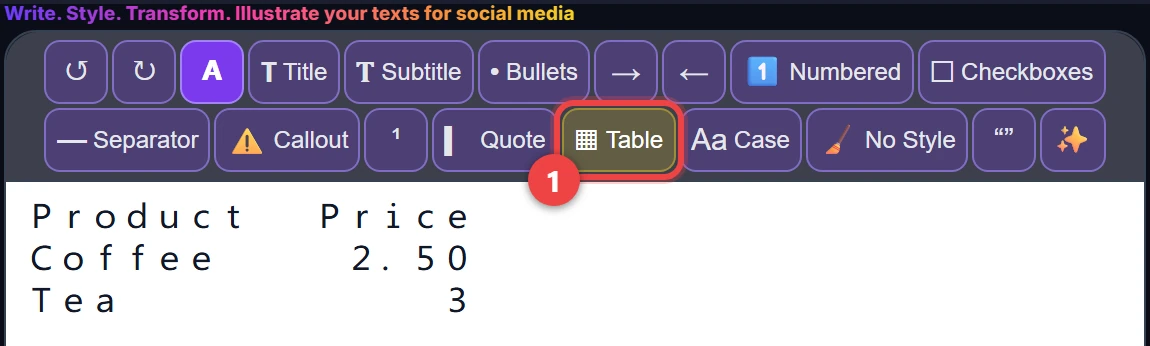
Put the cursor in those lines (or select them), then tap Table (▦). 1st tap: the table. 2nd tap: with borders. 3rd tap: back to the text with its “;”. Numbers line up on the right, words on the left.
The tool warns you about a line without “;”, a character with no wide form (an accented or non-Latin letter) that may shift a column, a table of more than 16 cells whose lines may wrap on a phone, and an empty first cell.
For Threads and Mastodon, prefer the table with borders: they remove the blanks at the start of a line.
12. Case
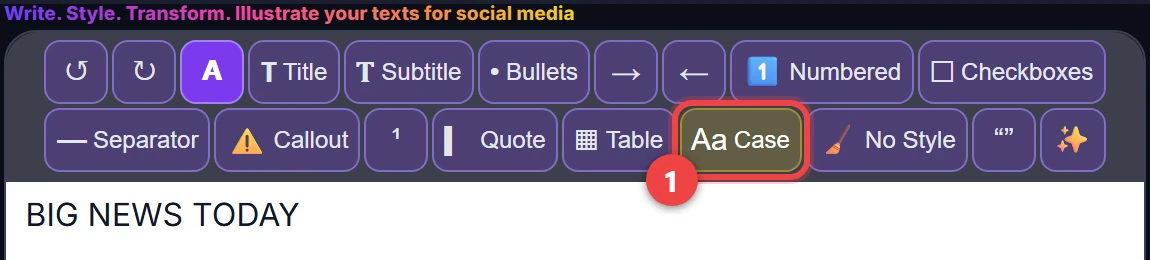
Each tap on Case (Aa) moves to the next form: UPPERCASE → lowercase → Title Case → Sentence case, then it starts again (three forms in German, where nouns keep their capital). Styled letters keep their shape.

13. No Style
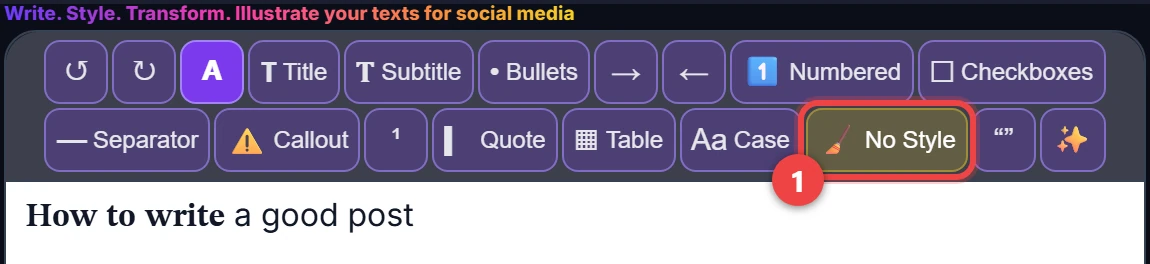
No Style (🧹) turns the selection, or the whole text, back into plain letters.
14. Punctuation
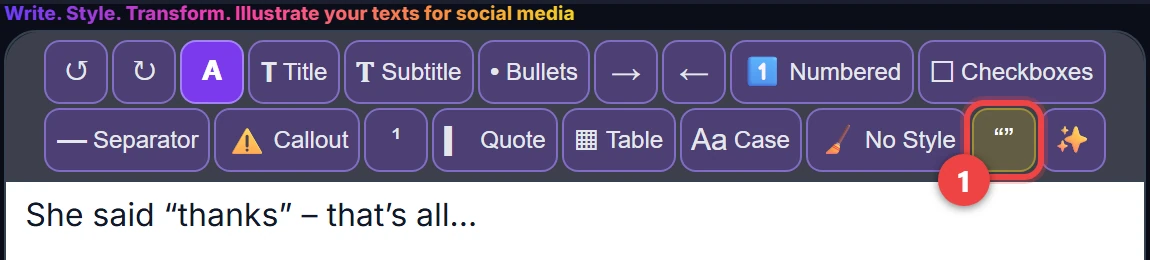
Punctuation (“”) fixes the quotes in the app’s language, the apostrophes (’), -- into –, --- into —, ... into …, and in French adds the thin spaces before ; : ! ?. Web addresses are left untouched.
15. Extras
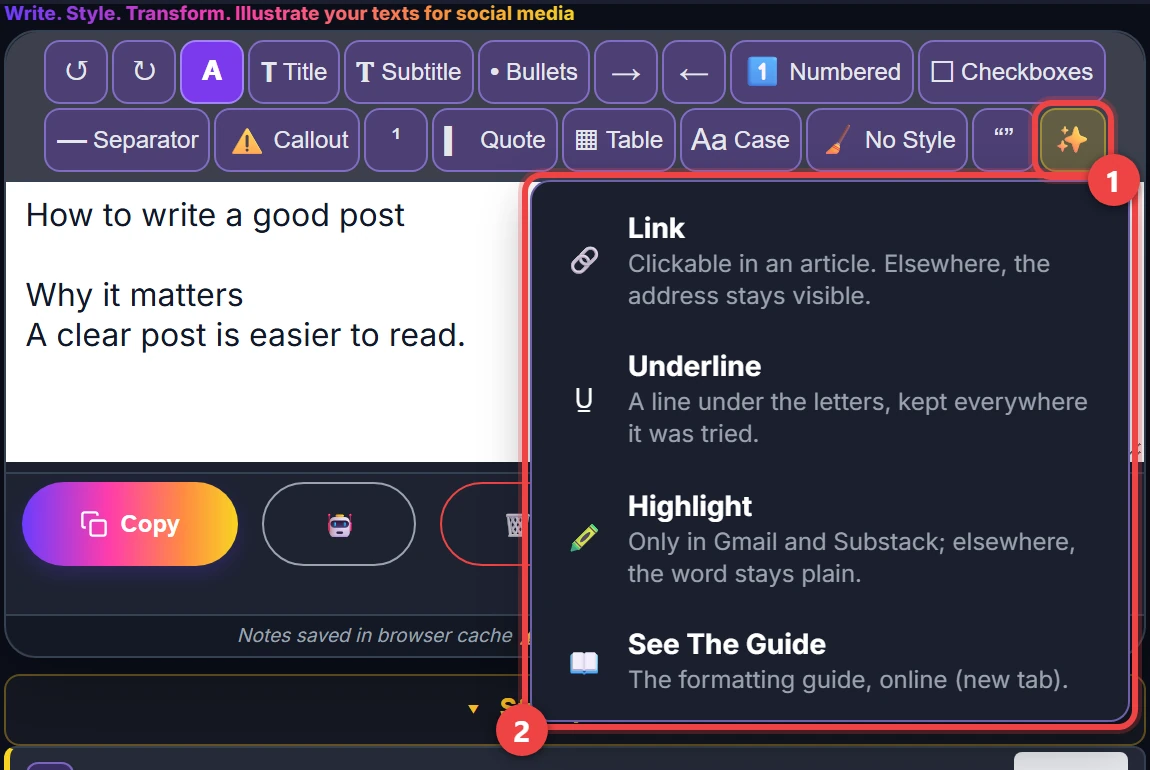
Extras (✨), the last button in the row, opens three more formats and the guide:
- Link: the word becomes “word (https://address)”: clickable in an article; elsewhere, the address stays visible.
- Underline: a line under the letters.
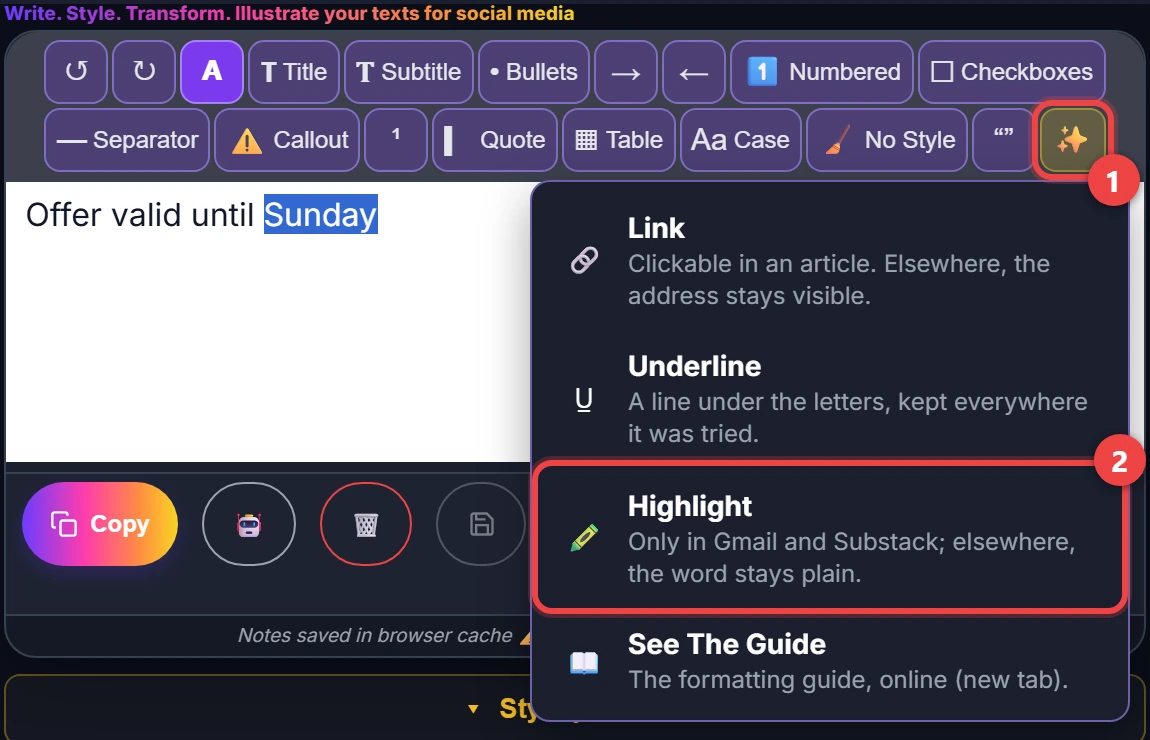
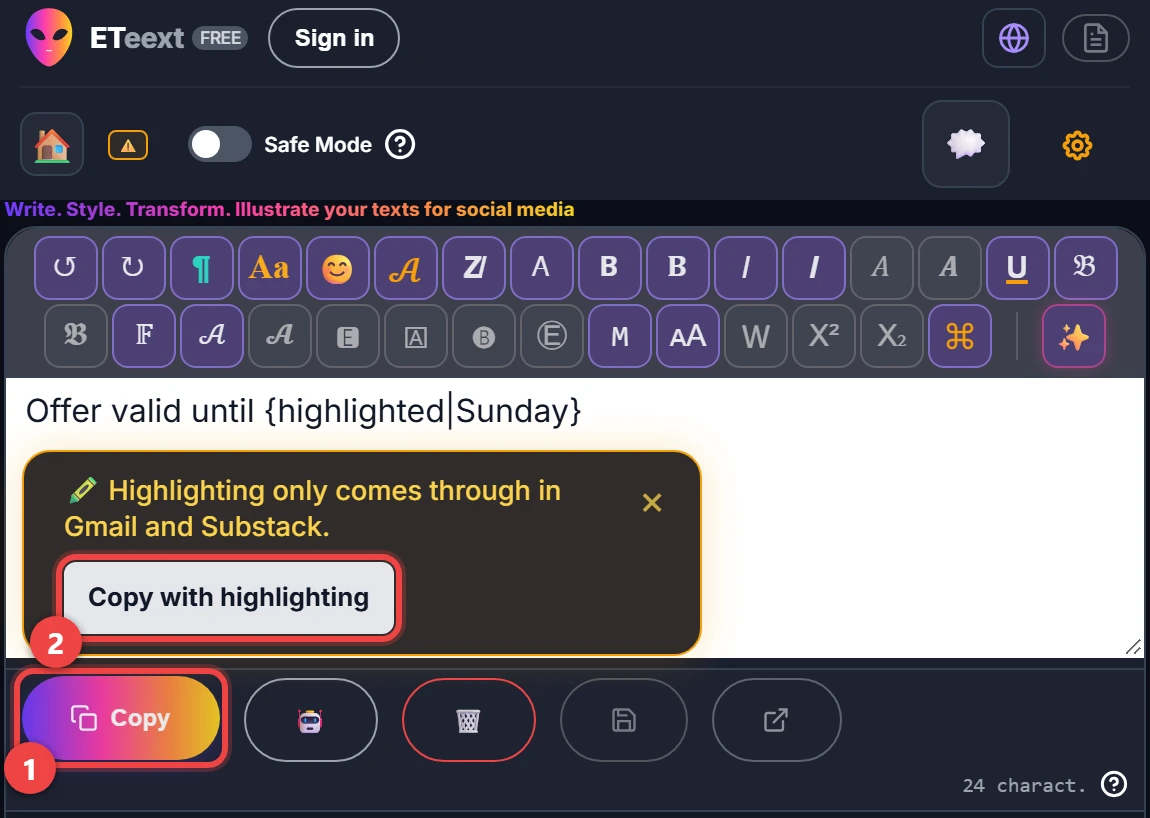
- Highlight: select a word or a passage, then Highlight. Copy always gives a text that works everywhere; right after, a bubble offers Copy with highlighting for the destinations that keep it: today Gmail and Substack, and the bubble shows the current list. Elsewhere, the word stays plain.
- See The Guide: this guide, online (step 1).
In the editor, the word to highlight shows between braces, {highlighted|word}: this mark is never copied.
16. Back to the styles
Back To Styles (the A at the start of the bar) brings the styles back.